Timeline vs Frame
I have been saying 'timeline' and 'frame' throughout my blogs, and this may not be easily understood to those who are not aware of the different animating techniques, in Photoshop. I certainly did not know the difference. I had to read about each from http://helpx.adobe.com/photoshop/using/video-animation-overview.html.
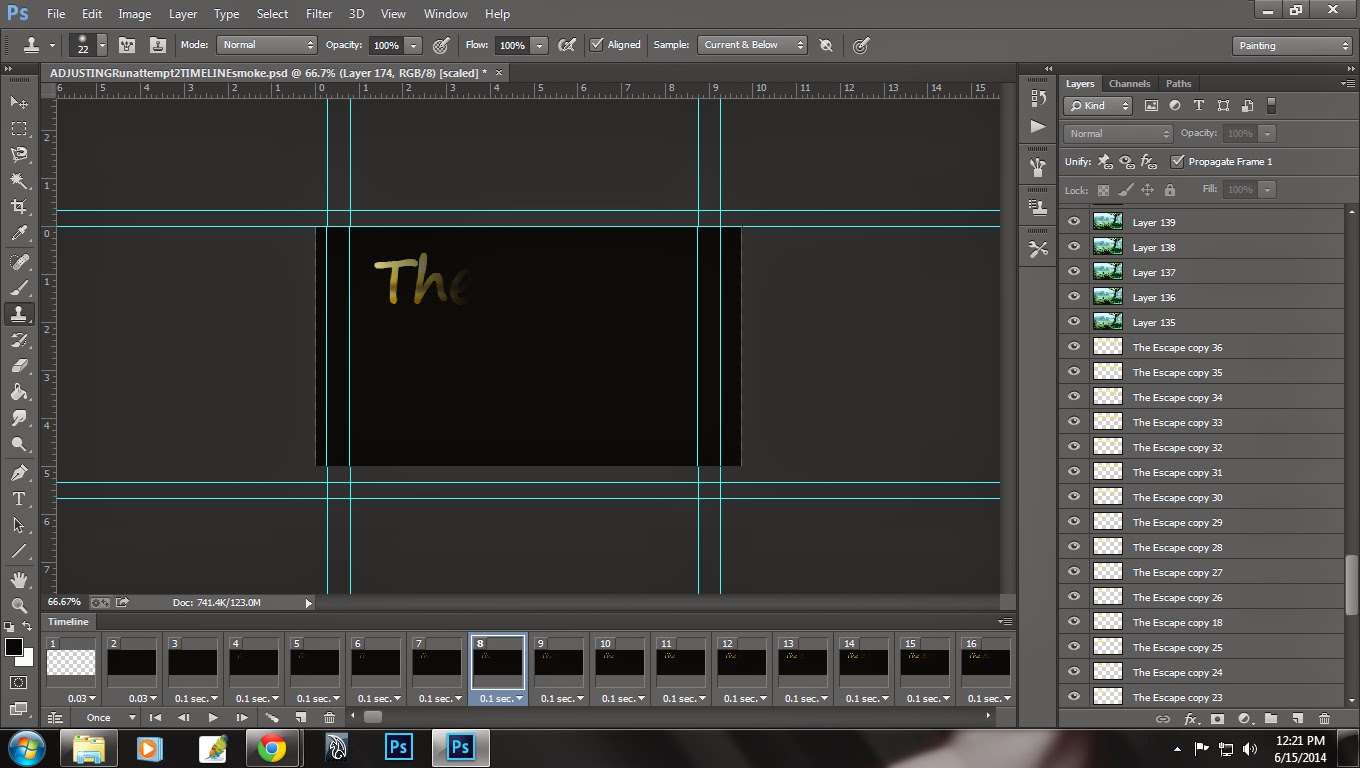
Frame: This is the easier animation process. Think of frame animation as a roll of film. Each square has captured a moment in time. If you took consecutive photos, then each square changes just a little bit. If one was to 'play' out the roll of film, they would get the action in which they captured into stills. This is what Photoshop has done. Photoshop is able to take the layers that you created and drop them into it's own frame. The frame portion allows you to 'play out your layers'. Frame animation can be restrictive. For one, you cannot add music or sound effects. If you needed to alter a layer, or add layers, you need to delete all of the frames that were created- losing the frame rate you changed, change/add layer, then 'make layers into frames' again, then go back and change the frame rate. Frame rate is the amount of time that you want that image to run/hold for. Whether it be for 5sec or .01 of a second. Below are screen shots of my animation in the frame mode:

Timeline: I look at timeline like video editing. This option has more options, and for the most part is more flexible than the frame animation. Timeline animation uses layers which have properties you can change like transform, opacity, layer mask position, etc. This gives you much more flexibility when creating an animation. You can also scrub which lets you see what you are doing and if it is working out. I found this site to be helpful in figuring out timeline animation: http://www.tutorialboneyard.com/Pages/photoshop_timeline_animation.aspx.
Unlike frames, timeline lets you add audio. A major downfall to timeline is the challenge of altering and adding new layers and adding them into the animation. I discovered this when I wanted to change the way my animation ended. I detail out this in detail in a later blog post. Below is a screenshot of my animation in the timeline form:

No comments:
Post a Comment